
Termux is an terminal emulator for Android which you can use for running Linux commands on your phone.
This article is for such a fun activity. We’ll install a webserver to host a static webpage.
Lets get started
First download termux from Google Play Store or from github/f-droid.
Install Packages:
Open termux and run the below commands to update package index and install nginx.
Optionally install termux service to start/stop services just like systemctl.
pkg update
pkg install nginx
pkg install termux-services
Type y or just click on the enter button when asked for confirmation on installation.

Lets start the webserver and we should see the default webpage.
sv up nginxOn termux, webserver are set up to run on 8080 by default. So browse localhost:8080

Success! Webserver is working as expected. Now to create our static web app.
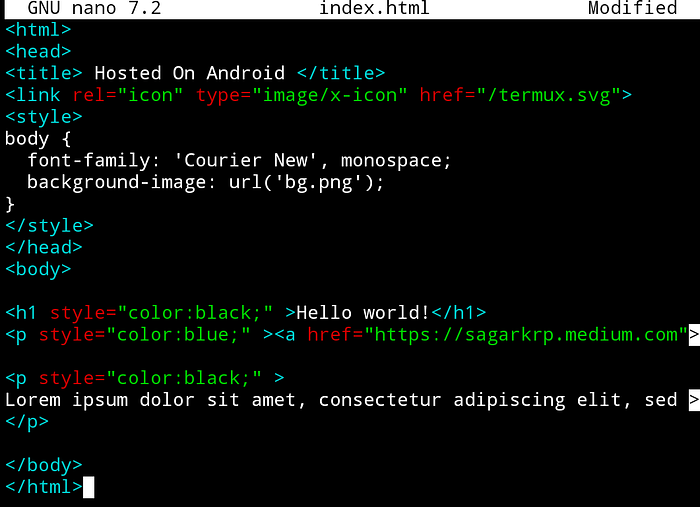
Create an index.html with your content.
Configure our app on Nginx:
The nginx config files are stored under /etc as usual but the /etc on termux is under /data/data/com.termux/files/usr/etc/. You can manually navigate here or create a sysmlink for easy access.
ln -s /data/data/com.termux/files/usr/etc/ ~/etcTh symlink is created on our home dir.

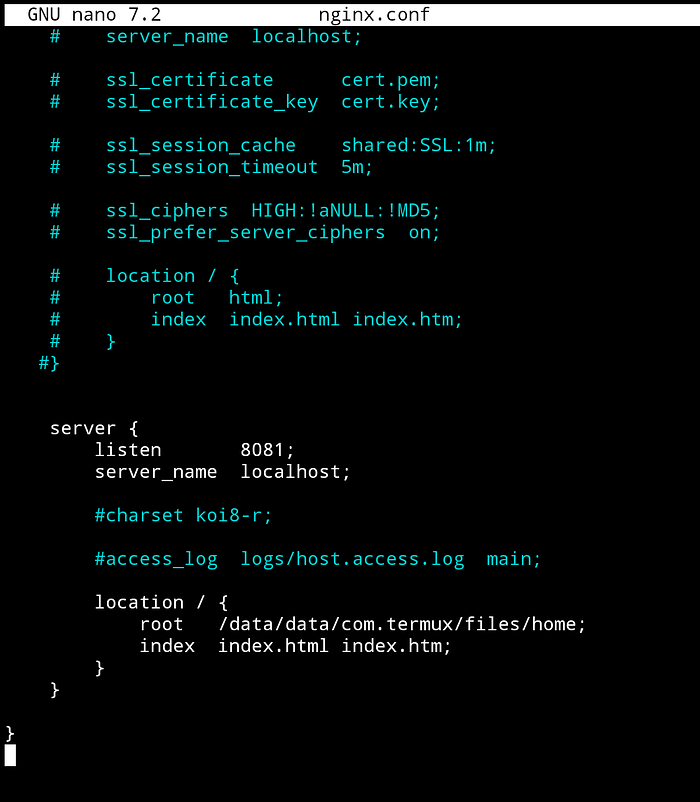
Navigate to etc/nginx. And open nginx.conf in an editor and add the below server block to the end of the file.
server {
        listen       8081;
        server_name  localhost;
        #charset koi8-r;
        #access_log  logs/host.access.log  main;

        location / {
            root   /data/data/com.termux/files/home;
            index  index.html index.htm;
        }
    }
The root indicates the application path. You can change it accordingly.
We can also verify the nginx config for syntax errors. Use the below command:
nginx -t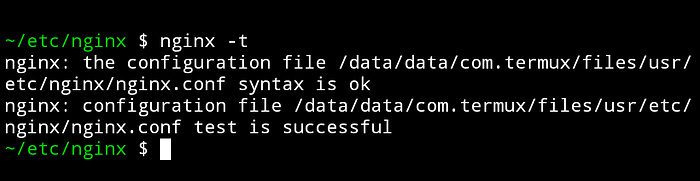
Alright, lets start Nginx and browse our application.
sv up nginx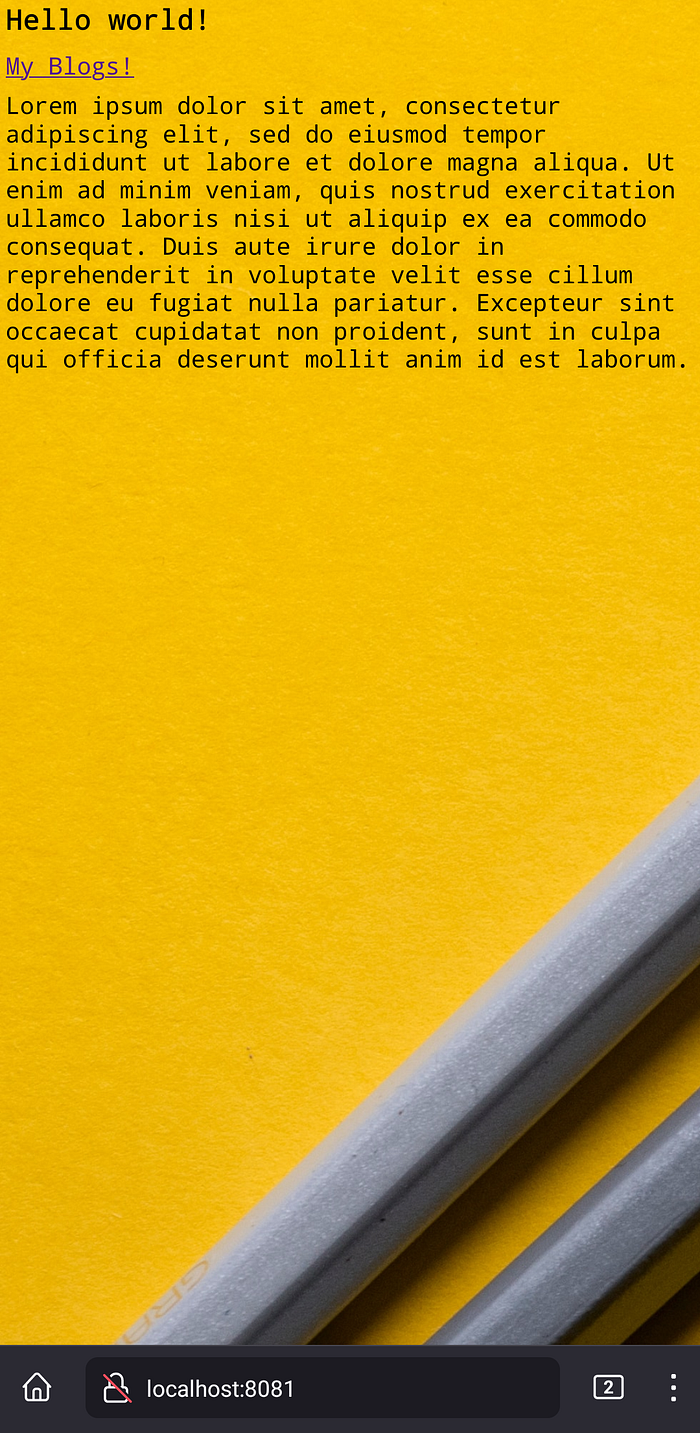
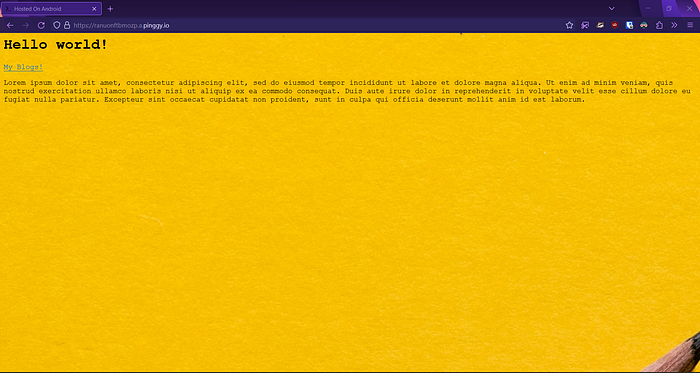
There you go!
Additional steps:
Now that your app is successfully hosted, you might want to share with your friends but it can’t be shared as its on localhost. To expose it publicly we can use Pinggy tunnel to get public url.
Generating Public URL:
First install ssh client and then use pinggy to get url.
pkg install opensshssh -p 443 -R0:localhost:8081 a.pinggy.io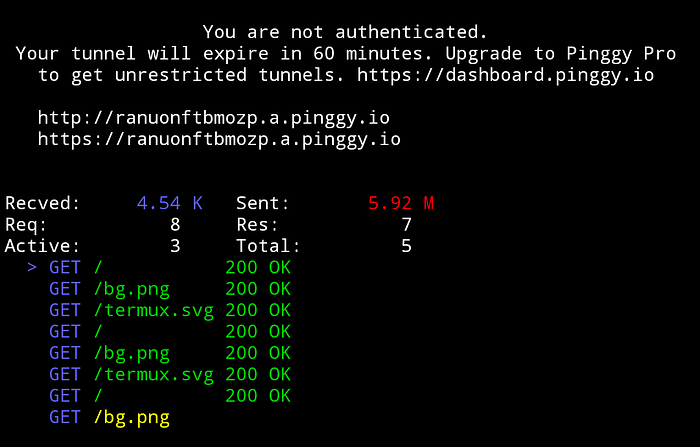
We got URL with TLS.
Note that this will expire in 60 mins, which is fine as this is just for fun.
If you wish to connect to your own domain, you can follow this tutorial:
https://androidblog.a.pinggy.io/
That’s all for this experiment. Thanks for reading it.
Read More about webservers:
